Showing posts with label desireeb. Show all posts

Friday, October 31, 2014

It finally feels like Winter

Happy Halloween
The last week has been blissful in terms of temperature, I've even been wearing long sleeves which has been exciting. In a complete roundabout I've returned to sewing, its been months and the last thing I sewed was probably a hem. It's a good thing to have had a break as I have a renewed enthusiasm and I'm excited to make new things. Here's a couple I've been working on, although if you follow my instagram you'll have seen some of these behind the scenes shots. I'll be taking part in a few show in November including Patchwork Show on Nov 2nd in Long Beach and Nov 30th in Santa Ana as well as Maker's Arcade in San Diego on Nov 22.
Sample fox new design
I made this guy in a flurry of enthusiasm, literally drew onto the fabric and cut it out, not really thinking about how I would make it again without a pattern. I don't really want to unpick it apart so we'll have to see if the pattern I made is close enough.

Look at all the owls, I have banned myself from buying any fabric till I get through the mountains of wool that I have collected. I have mini wool mountains of felted sweaters and dismantled clothing everywhere, it looks bad but it always does when I'm busy.
Here's a felted sweater purse with appliqued bear.
Fox and Bear

Mr & Mrs Nighty Night Owls

Thursday, April 24, 2014

Prepping for UNIQUE LA and new stuff

It's been a whirlwind couple of weeks which included a 2 week vacation to visit the family in London and then playing catch up ever since. Unique LA is in a week's time from now May 3 & 4, arggghhhh! I am so fortunate to be sharing a booth with the Uber skilled Kevin from Silicate Studio a man with a wood shop, great vision and a lot of tools.
This is part of the signage, I must draw will be the main header.

I finished signage last night, laser cut of course and will do a whole post on the build. Product wise, a new card line on white, more hand lettered than my usual cheeky pun offerings. Having switched from the mighty ink pen to a brush of late, I've naturally made this transition and I'm excited.

New woodland creatures will be making their debut at Unique along with some new card designs and possibly some mobiles but why don't I just post some pictures already !

From sketch to Product

New Bunny - I'm a magnet

Medals for Mother's and Father's Day

Hand lettered, I'll probably print a colored version on white.


Thursday, January 30, 2014

DIY Product Photos


For those of you lovely people that read my blog you may have noticed some changes of late, namely everything's gone a bit whiter. Like the studio clear out I felt it was time to clean up. Now that my focus has shifted more towards the illustration side of things, I needed to place the emphasis more on that side of my output. As part of this overhaul I knew my product photos needed help, previously lack of time was my excuse but no longer. I like taking photos (of people/dogs) and once upon a time I did a photography course in a proper studio and learnt about aperture and shutter speed etc, my issue is I get bored. I did some visual research and made notes on what caught my eye and sketched out some composition ideas. I didn't want to go the all white backdrop route, can't tell you why exactly.

I needed props, or so I thought... I know I'll tie in the subject of the card I'm shooting with an appropriate prop. Organisational disorder ensued, as those familiar with my output know my cards range from food puns to animals, that's a lot of props everything from a microphone to potatoes!

After an hour or so I was back to a simple backdrop and shooting different angles. What I learned from this is you have to take risks and even if something looks great on a tiny screen it doesn't always translate and vice versa. Below are all unedited photos, no cropping or whitening....yet.

All were taken using my Canon 60D and natural daylight only, (read I hate flash) and without a tripod (yes I have one but I'm lazy and the dogs were in the way.)

So after I downloaded my morning's efforts and I really didn't mind some of the prop shots after all.  I think the ones that work have enough visual interest to look editorial. There were some that were overboard but I was trying to do to much, less is more. Still got about another 60 cards to shoot but it's a start, just going to need to make sure they are all cohesive. Feel free to comment below.
Card on a plate, through the viewfinder the white contrast looked good

A lot of wood !
The idea of the card being on display
Shells tie in with the fish theme could be repeated for Crab, again did not think this would work.
Going for the hand sketched angle, hated it at the time but now really like it.
Simple clothes line set up using natural light
A little dull but works.

My not so helpful helpers, bless.

Monday, January 20, 2014

New Year, New Workspace.


First doodle in the new room.
I spent the weeks leading up to Jan 1st frantically organizing my workspace ready for a fresh tidier 2014. It could get bad in there so much so that I would work elsewhere rather than face the mess. It took a while, time when I could have been creating but it was long overdue. I went through all my supplies, donated things I wasn't going to use and organized everything else. Extraneous furniture, big pictures were all creating clutter so out they went. The transformation was low budget, I found some wooden shelves while walking the dogs and an hour later got them home. They had been painted black but nothing that a bit of sanding couldn't cure. Other shelves from Ikea had been languishing in a closet as I waited for the right spot to put them up. My main eye opener was the fact that I had a million containers everywhere and they were all full of junk, so one by one I dumped them out and put everything in its place, needles, pin backs , small bits of fabric etc.


BEFORE: Sometimes during a busy spell it could get like this !!

BEFORE: Too much stuff not enough storage.

So the comfy chair was a good idea in theory, but just took up to much room. Out with the chair and in with the new/old shelf to form a wall and also a nook for hiding stuff from view (occasionally.) What isn't visible is the amount of stuff under the tables. The sewing machine is now stored below and comes out when its needed. Similarly the cutting mats are on hand but not on permanent display. A large walk in closet holds about 2 years worth of accumulated wool and fabric. There are also 12 clear plastic draws which also store supplies and packaging. I have not bought any fabric since the clearout as I have so much. It took a day to go through and sort the chest of draws so everything has a home.
After

Supplies which are used frequently are close at hand. Since this shot was taken a magnetic strip has gone up, a place to pin inspiring things as well as some pictures.

I got some colored cotton for Christmas and then added more in the sale, now I have a pretty decent set.


The guitar isn't part of my decor ! but its a small compromise in a room which is otherwise full of my stuff.

Added: Magnetic strip for inspiration and scissors.
I glove you clean workspace

Card packaging zone.
A handy thrift store find, filing cabinet on wheels stores all my patterns with a handy draw below for my sewing box. The wall decor is a work in progress.
Supplies and stock shelf

From yucky black wood shelves to very useful white ones, great free find, also acts as a wall and backdrop for photos on the wood side. Metal paper tray keeps loose papers at bay till they get filed.

Taken today as proof that it is still tidy 19 days into the new year.

Wednesday, October 9, 2013

Patchwork Edible Show and other Stuff

It's been a very busy couple of weeks and it never ceases to amaze me what can be achieved in a short space of time. So in big news I quit my day job !! I was dragging my feet and clock watching so I knew it was time to move on to pastures new, its an exciting if somewhat precarious time ahead and I mean to make the most of it.

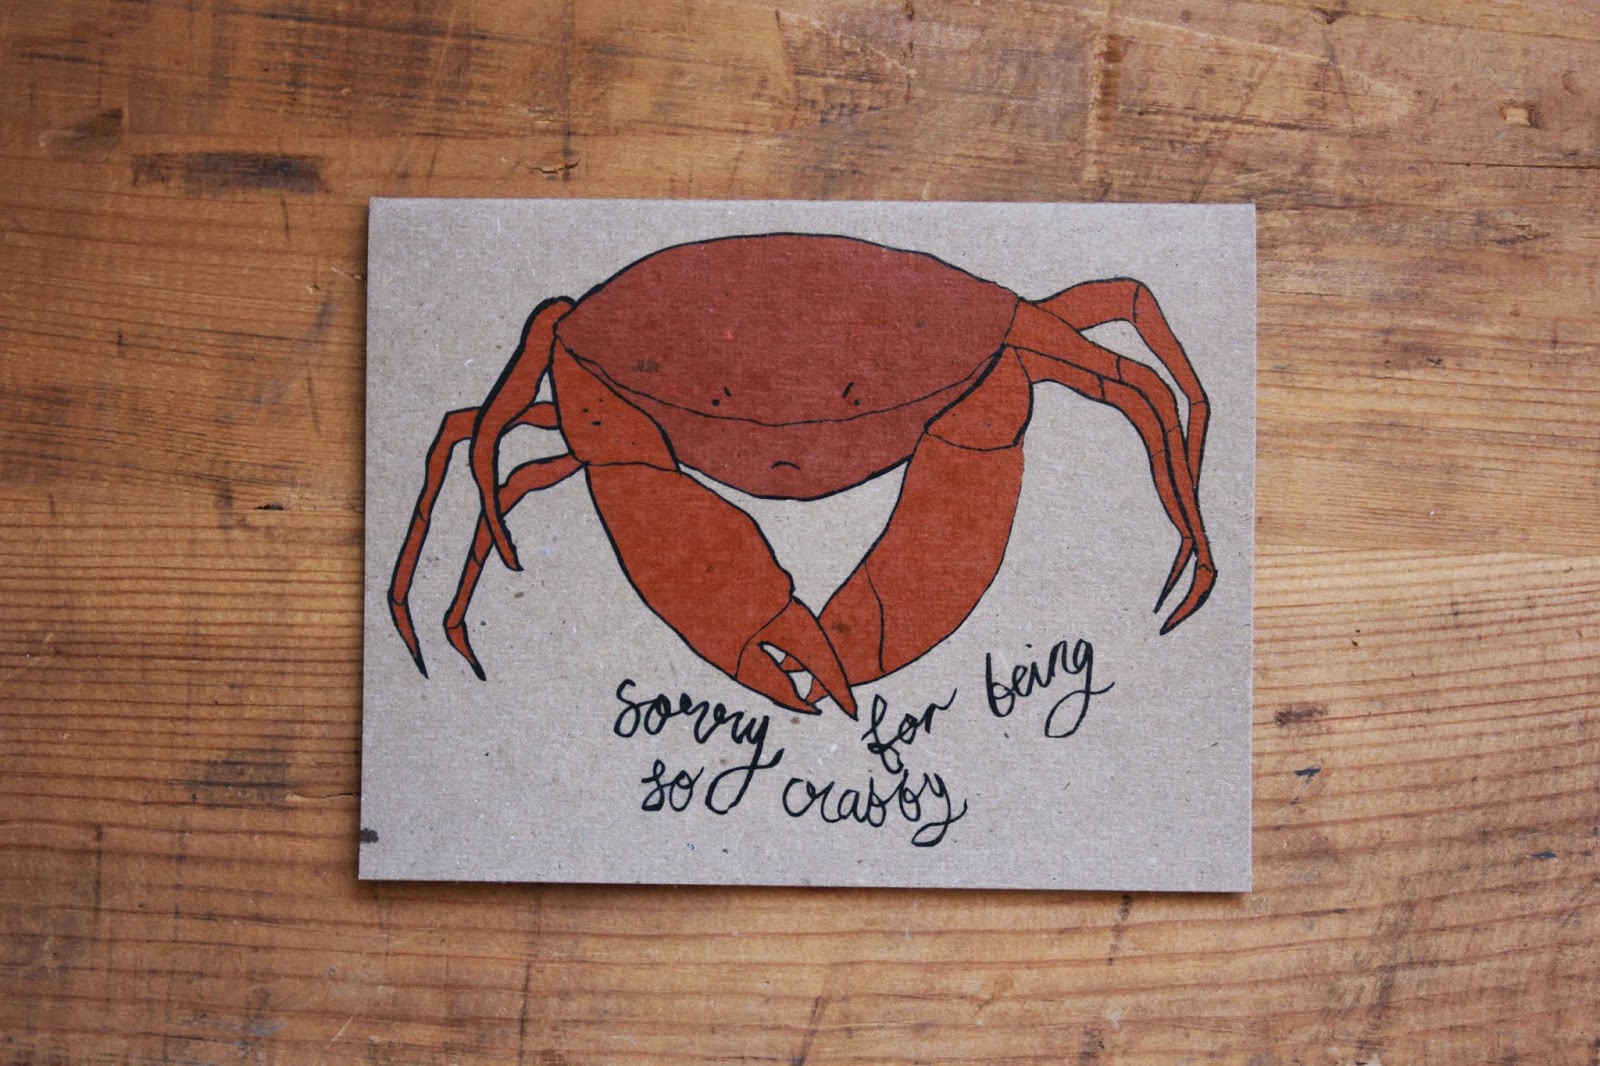
The Patchwork Edible Show was the impetus for some new cards, I had already done food so it wasn't too difficult to create the designs. They were pretty well received. Sorry for being so Crabby being a surprise hit.
I've started experimenting with painting the image using ink as opposed to using a pen and I like the results. Patchwork was like a survival of the fittest endurance test, as much as I love sunshine, temperatures hit 93 degrees and it was tough being outside all day. Still met some lovely people and vendors who were all in the same boat. Here are some photos from the event I was on my lonesome so unfortunately was unable to go walkabout.

Yes it was that hot !

Particularly happy with my cardboard clouds.

Forgot to bring a sheet to hang at the back but live and learn.

Panorama, fancy...

Ok, that's it for now, I'm going to have to backtrack as I have a lot of posts that I didn't finish. Thanks for reading.

Sunday, August 11, 2013

Clock Hack DIY

Madeover custom clock

Original Clock (Meh, but nothing special)
So one Saturday morning having managed to lose 3 hours on Pinterest I came across this clock diy morph which you can find on www.radicalpossibility.com and decided to make my own version. The possibilities of this are endless. It maybe took me 15 mins tops to do, and half of those minutes were spent prising the clock face off.
What you will need: flat head screwdriver (target) clock $3, paper, pen, scissors,( illustrator & printer optional.
Time: 15mins
Difficulty: Easy(ish)

That little plastic thing has to be pushed down in order to release the clear plastic clock face. There are two of those.
Once you've done that gently pull the clock hands off and take off the battery pack. Sorry I was going so quickly that I never took a pic of this step. I then peeled the paper clock face off and traced around it. If you are going to collage you could leave it on. I measured the circle and then created a template in Illustrator and designed my own clock face. You can do this lo tech, simply trace around the clock face paper onto a blank sheet and draw your own numbers, you could also use stencils etc Endless possibilities.
Hurrah the plastic face is off!
Now use the face to trace around for a template if you are not going to print like below and just draw/paint/collage/stencil etc

Or Prepare and print your design.

I then printed my design, cut it out and made a hole in the center for the clock mechanism.
In the original tutorial she spray painted the green plastic surround part but I didn't bother as I like green.
Put the plastic face back on and you are done !


I am quite happy with how it turned out as it was pretty quick, and here it is in my craft room.

Wednesday, July 3, 2013

Upcycled Tennis Racket Cover Tutorial

Wimbledon's here so it's only fitting that I should post this tennis jacket tutorial. It is fairly easy to do and requires 1 felted wool jumper. I chose one that had a zipper and incorporated that into the design.
One bright red sweater.

First of all put your tennis racket inside your sweater to make sure you have enough fabric.


Using your tennis racket, place on piece of paper and trace around the head and part of the handle. (Just the parts that you will be covering) Cut this out and you have your pattern.


Pin your pattern to the sweater and race your pattern onto the reverse side of your sweater using a fabric marker or chalk and cut out. Repeat so that you have two sides.
Once you have your two sides pin right side facing inwards. Trim excess so they are the same.
I loosely basted the two pieces together and then used a serger to sew around the edges, avoiding the zipper which had to be hand stitched. You can also use a zig zag stitch on a regular sewing machine too.
I look like a ham
The finished cover, even has a usuable pocket for a ball or two. If your sweater doesn't have a zipper  you could make a velcro fastening instead. You could also applique initials on it. It got some good feedback from the tennis folks I play with and certainly screams handmade !